
Adjusting Thread Ring Gages
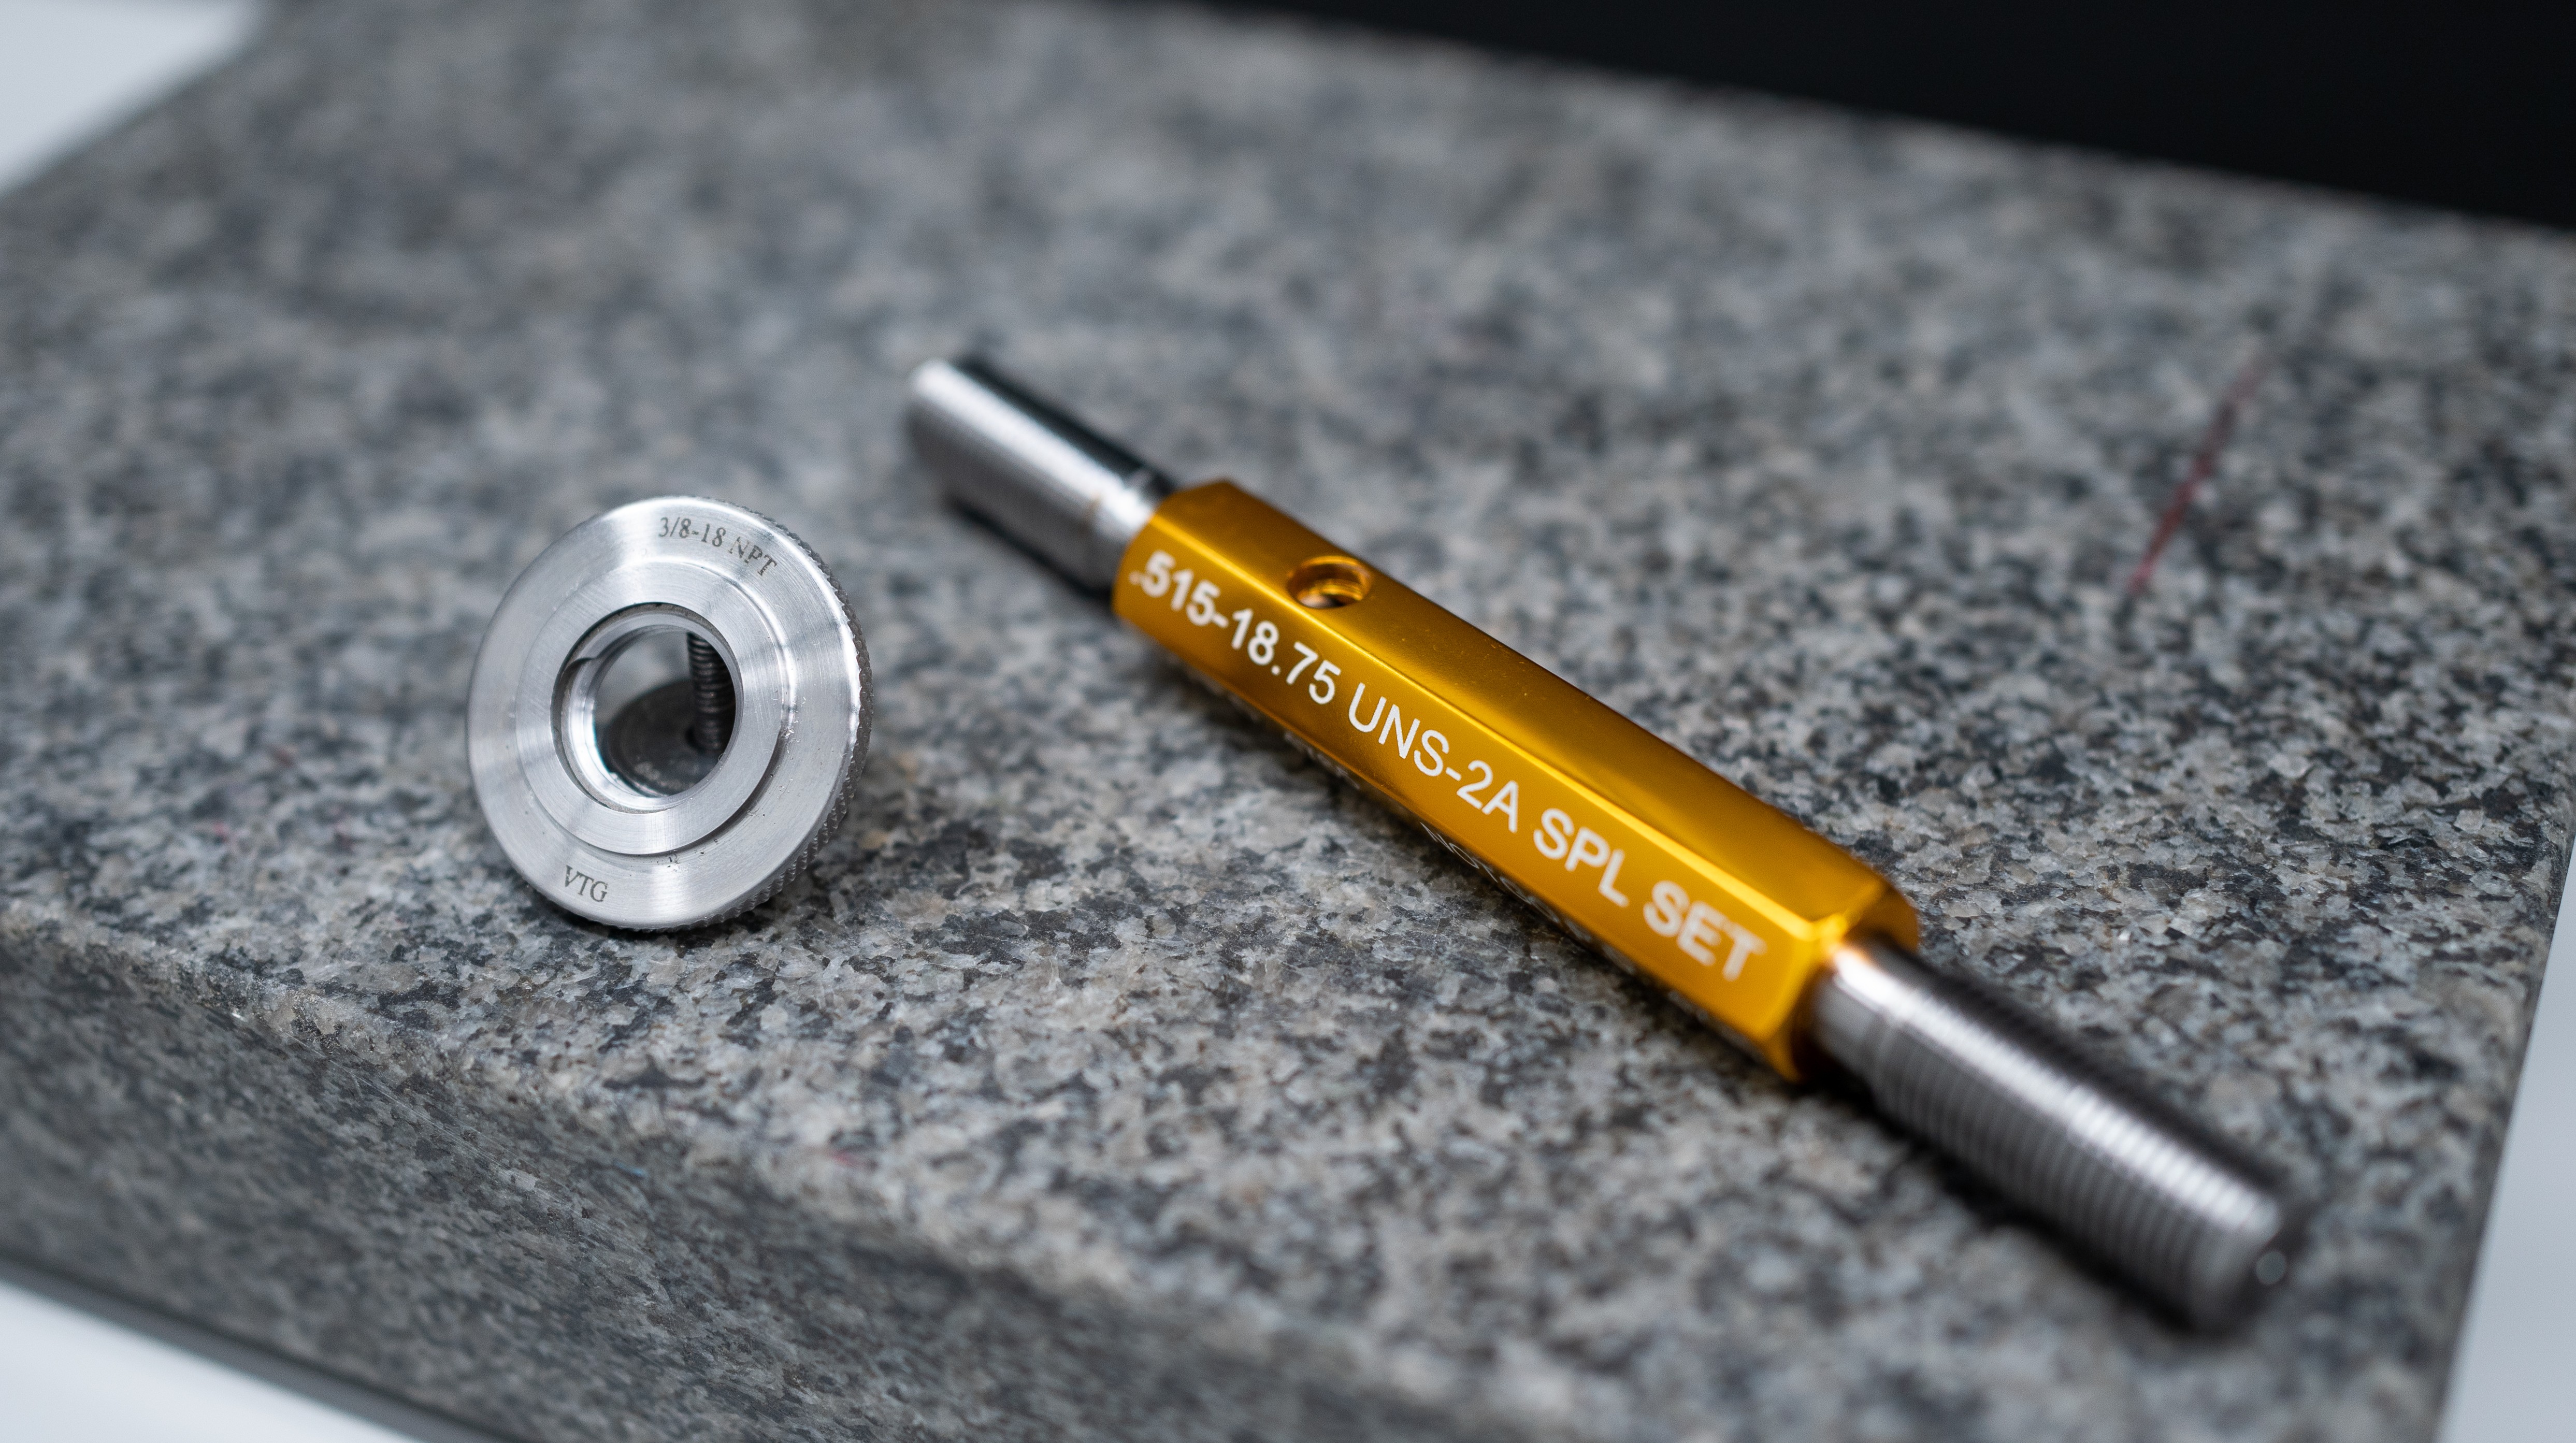
Adjusting Thread Ring Gage to Truncated Setting Plug
The pitch diameter of a thread ring gage is best established by adjusting the ring to a truncated thread setting plug. The setting plug should previously have been inspected and known to be in good condition, of the correct pitch diameter size and within thread element specifications.
How to adjust a thread ring gage to ensure the proper pitch diameter setting:
1. Thoroughly clean both the ring and plug gages by immersing in a good cleaning solution and jet-blow dry, or preferably clean ultrasonically if possible. Then visually inspect to make sure all foreign material in the threads has been removed and no nicks or burrs are present.
2. Lubricate the plug with a thin film of light viscosity oil before threading into the thread ring gage.
3. Turn the locking screw of the ring counter-clockwise until it is loosened, but do not remove it from the ring.
4. Turn the adjusting screw clockwise to open the ring to a larger pitch diameter than the setting plug.
5. Turn the ring onto the setting plug until it is completely engaged with at least one thread of the ring extending beyond the last thread on the back end of the full form section of the setting plug. This action promotes uniform wear over the entire thread length of the plug.
6. Turn the adjusting screw counter-clockwise until there is a slight drag between the ring and setting plug.
7. Turn the locking screw clockwise until tight, this locks the adjusting screw so that the pitch diameter of the ring remains fixed. There should now be a noticeable drag between the ring and setting plug.
-
- Operations 6 and 7 may have to be repeated more than once to get the proper adjustment.
8. Unscrew the setting plug from the ring.
9. Screw the setting plug into the ring approximately one and a half turns and try to move it from side to side to test the ring for a taper or bellmouth condition.
-
- NOTE: In checking for shake, use light pressure on the setting plug to avoid damaging the end threads.
10. Remembering the feel at the one and a half thread engagement, screw the ring over the truncated and full form sections of the setting plug. The drag or feel should remain approximately the same, perhaps a little more drag at the full form engagement due to more flank contact.
11. Remove the setting plug from the ring and repeat steps 9 and 10 on the opposite side of the ring.
12. The ring gage and setting plug assembly should feel the same when checked from either side of the ring. This confirms that both sides of the thread ring gage are properly effective for gaging.
Use of Thread Ring Gages
A thread ring gage is a precision measuring tool used to inspect the external threads of a manufactured part, such as bolts, screws, threaded shafts, and fittings. It verifies that threads meet specified dimensional requirements and industry standards.
Go Thread Ring Gage
- Screw the Go ring gage onto the part
- Gage should rotate smoothly with minimal force
- Inspect entire length of the thread
- No standard for torque or force
No Go Thread Ring Gage
- Screw the No Go ring gage onto the part
- Part should not fully enter the ring gage
- 1.5-3 turns is industry standard
- The number of turns is often determined by the length of the thread being inspected, part material, or specific engineering process*
Support
You can contact Productivity Quality at 763-249-8130 for setup, troubleshooting, and general gage and calibration support.
*ASME B1.2 The No Go functional diameter is acceptable when the No Go thread ring gage applied to the product external thread does not pass over the thread more than three complete threads.
ASME B1.16 - a) the part does not enter or b) the complete product threads enter, provided that definite drag from contact with the product material results on or before the second turn of entry.