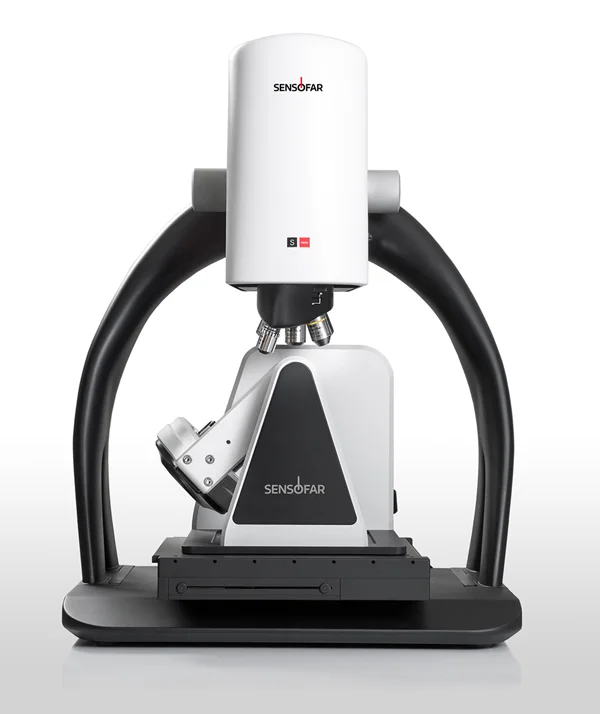
S neox Five Axis Features
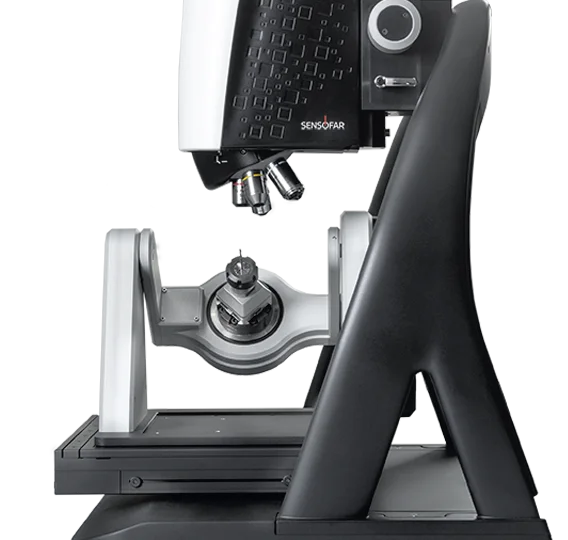
High-accuracy five-axis architecture: Integrates a motorized rotational stage with a high-resolution XYZ platform to position parts at multiple angles, enabling access to hard-to-reach features and complex geometries.
Multi-technology 3D optical measurement: Built on S neox’s optical engine, combining Confocal, Interferometry, and Ai Focus Variation to cover form, sub-nanometer roughness, and critical dimensions with high lateral and vertical resolution.
Automatic 3D volumetric measurement: Captures 3D surface data at defined rotational and elevation positions, then automatically merges individual datasets into a single volumetric model of the part.
SensoFIVE software integration: SensoFIVE software provides a user-friendly interface for acquisition, automated routines, data merging, analysis, reporting, and SDK-compatible integration into production workflows.
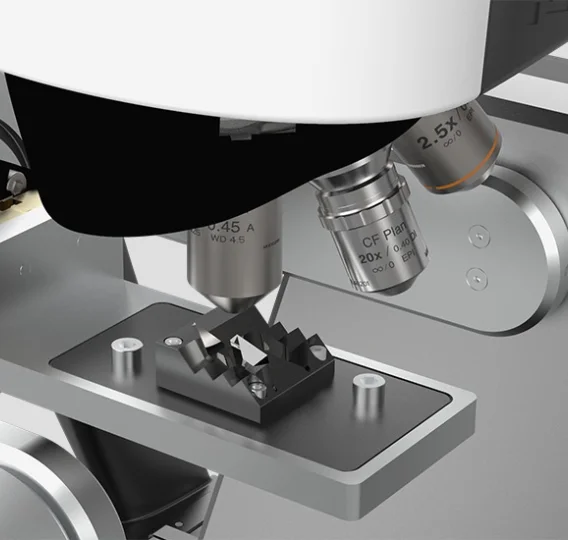
Flexible hardware configuration: Supports multiple objective lenses and a range of stage and accessory options (including rotational modules and dedicated holders) to adapt to specific part sizes and applications.


Request a Demo
Interested in seeing how the S neox Five Axis can capture complete 3D data on your most challenging parts?
Request a demo or sample study to evaluate surface finish, form, and full volumetric measurements on your components.

S neox Five Axis Benefits

Complete 3D coverage of complex parts: Measures features from multiple perspectives—combining rotation and elevation—to generate a continuous, high‑density 3D dataset ideal for components with undercuts, chamfers, and intricate surface details.
Measure steep slopes and angles > 90°: Overcomes shadowing limitations by tilting and rotating the sample so that steep or hidden surfaces become visible, then automatically stitching the data into a single model.
Fast, repeatable surface finish measurements: Confocal and interferometric modes enable accurate roughness and surface finish measurements from extremely rough additive-manufactured parts to polished mirror-like surfaces, traceable to NPL, NIST, and PTB standards.
Automation-ready for production and R&D: Multi-position measurement routines allow users to define critical locations once and then acquire all needed data with a single click—ideal for recurring inspections, process control, and high-throughput environments.
Broad application range: Well-suited for aerospace, automotive, tooling, micromachining, medical devices, and other precision manufacturing markets where full 3D characterization of cutting tools, implants, gears, or additively manufactured components is required.
Designed for Automotive, Forensics, Micromachining, Semiconductor.
Specifications Snapshot
- System Specifications – S neox Five Axis
Rotational stage performance, available objectives, XYZ stage travel and resolution, system footprint. - Accuracy & Repeatability – S neox / S neox Five Axis
Vertical resolution, lateral resolution by objective, repeatability data for different measurement